Telecore / Setup & everyday use
Your projects.
Your data. Your Donna.
Add what your team knows, choose the bot that uses it, and keep each business in its own project.
Updated 16 September 2026 · App screenshots use example data. Click any screenshot to view it at full size.
Add text that Donna should know
- Sign in and open Projects & data. Select a project from Active project, or choose New project to start with empty storage.
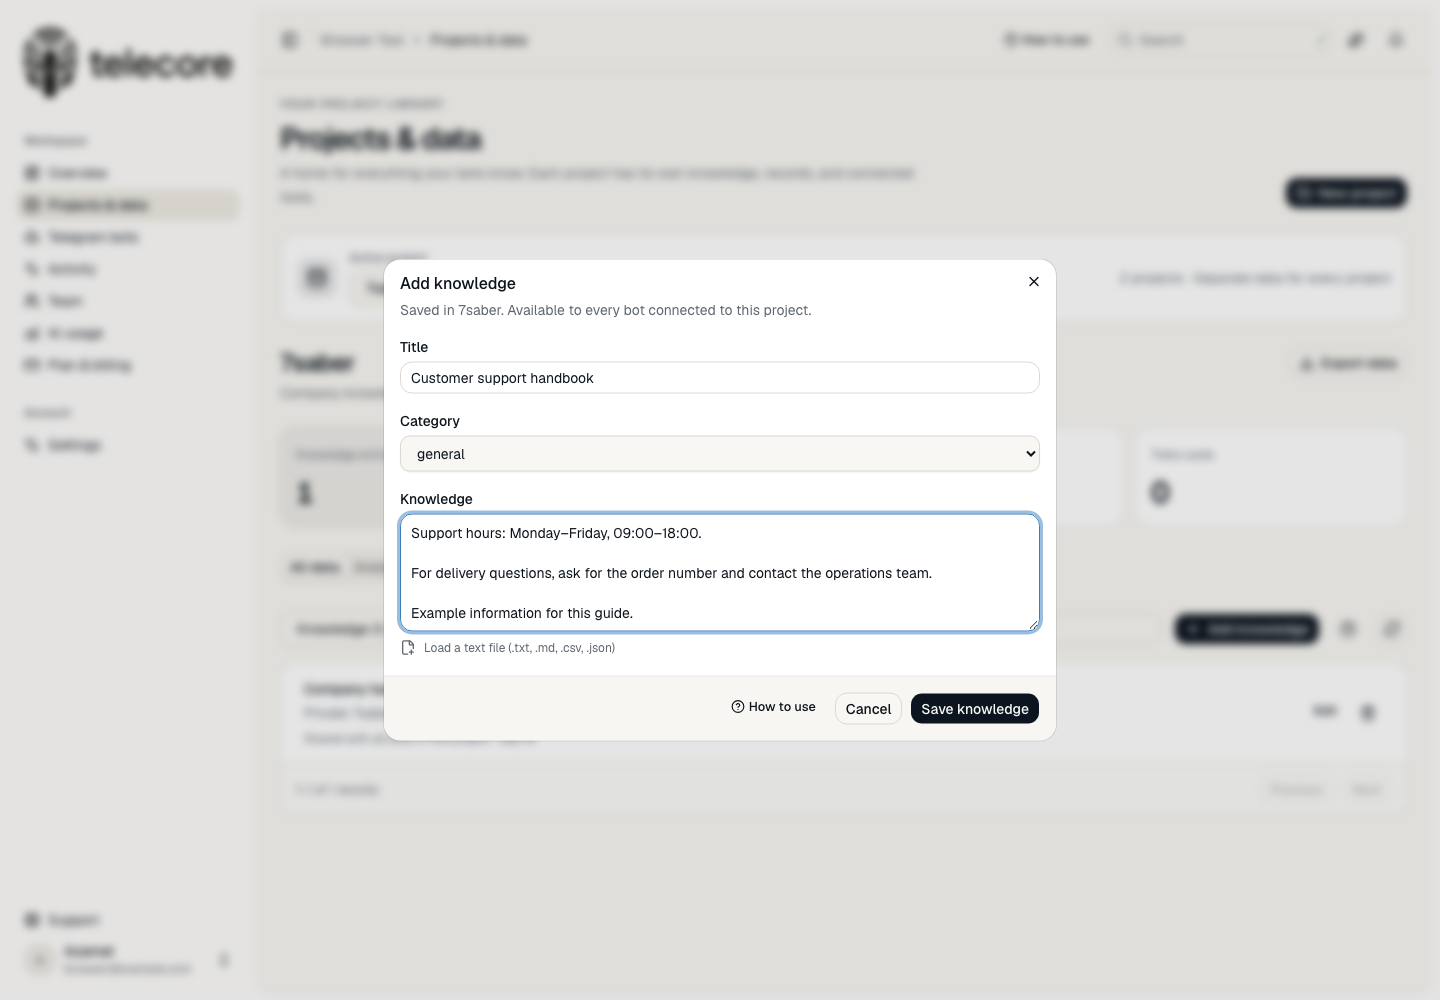
- Under All data → Knowledge, click Add knowledge.
- Enter a title, category, and your text. You can also load a text file (
.txt,.md,.csv, or.json, under 200 KB), then review its contents. - Click Save knowledge. The entry is saved in the database and becomes available to bots assigned to this project. Refresh the page to see that it remains saved.
Choose which bot uses a project
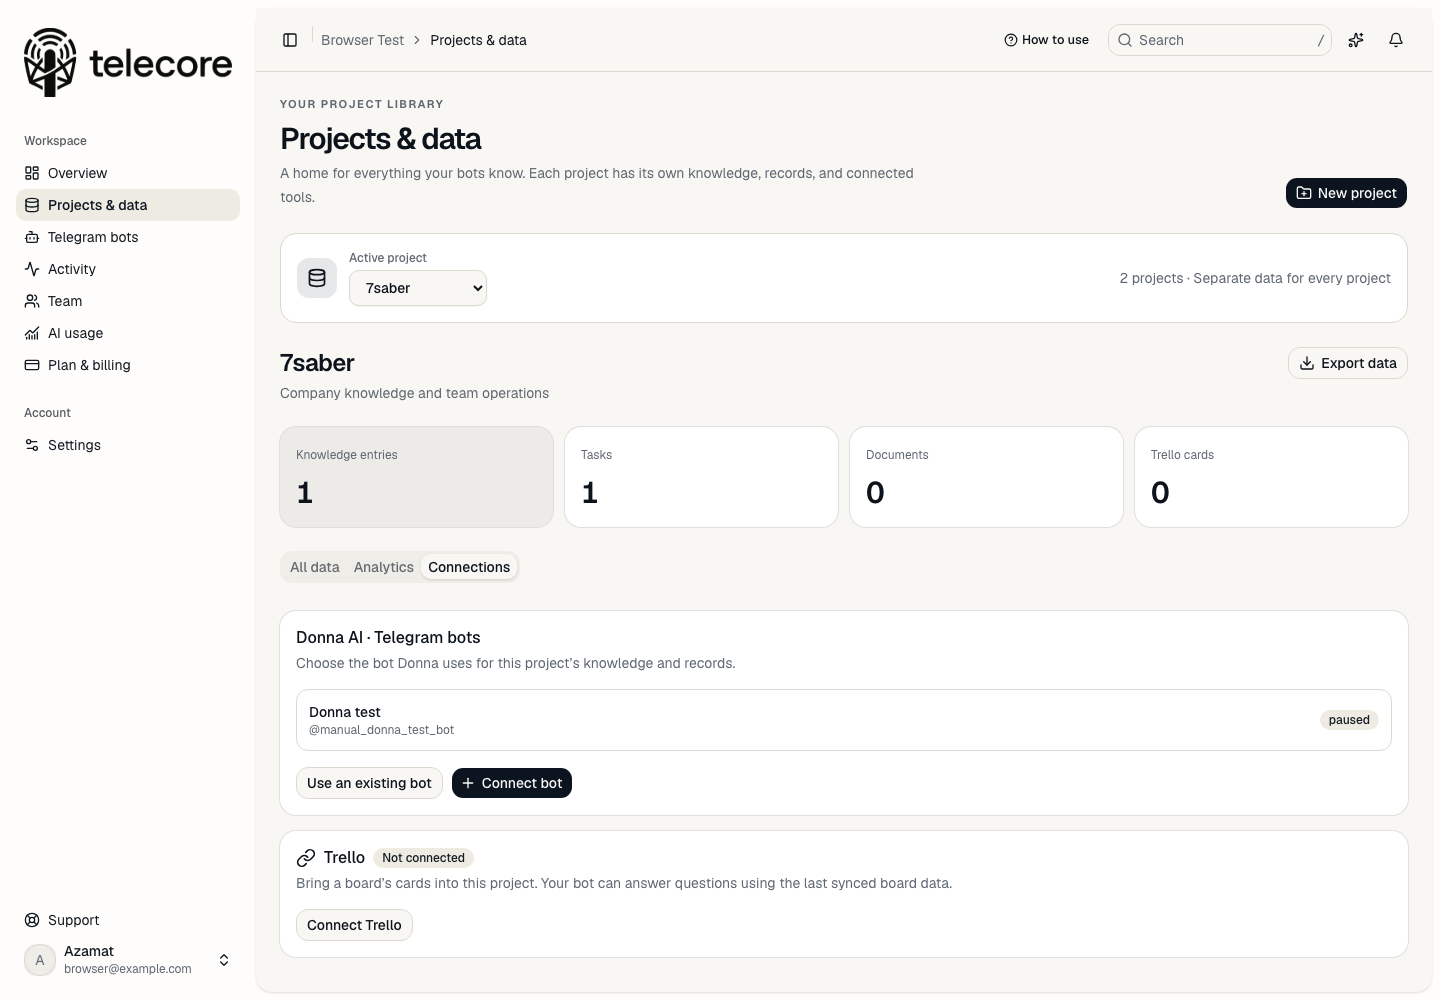
- Select your project and open Connections.
- For a bot already in your workspace, click Use an existing bot, choose it from the list, and click Use selected bot. No bot is chosen automatically.
- For a new bot, open the verified @BotFather in Telegram, send
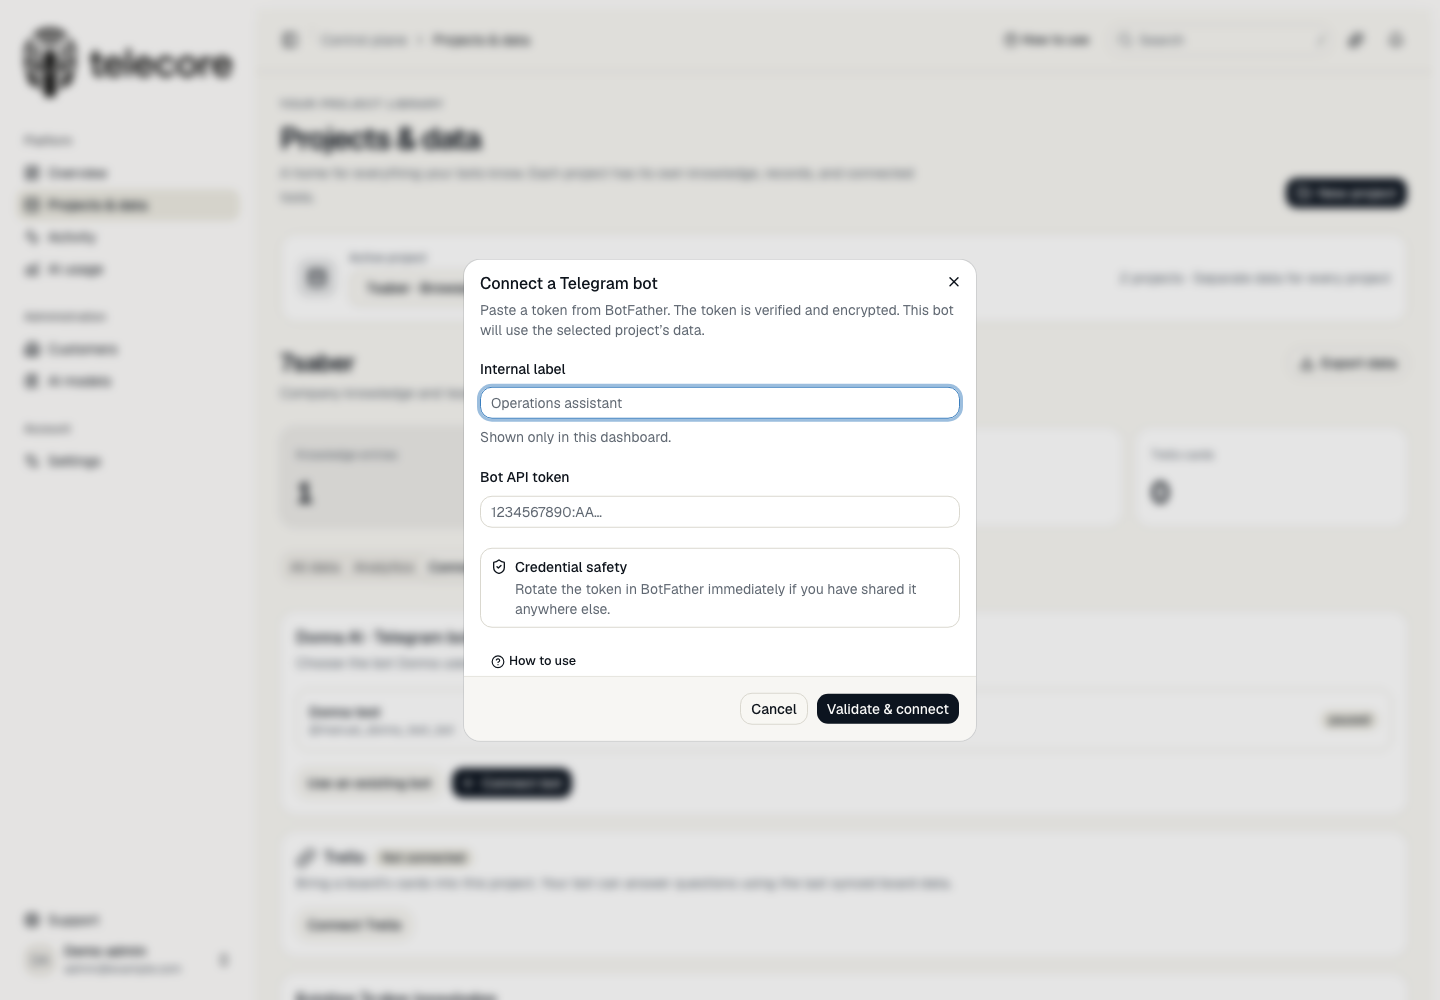
/newbot, and follow the prompts. Copy the bot token. - Back in the project, click Connect bot, enter its label and token, and connect it. Add the bot to your Telegram group and follow the group setup prompts.
Screenshot: where to paste a Telegram bot token
Replace an expired or revoked token
In BotFather, open /mybots, select the same bot, and get a fresh API token. In Telecore, open Telegram bots → the bot’s actions → Replace token. Paste the new token and click Validate & replace. The bot keeps its project and records. A paused bot stays paused until you resume it.
Changing a bot’s project changes the knowledge and connections it uses. Records already saved in its previous project stay there. Allow a short runtime refresh for the bot to pick up the change.
Token instructions: Telegram’s BotFather guide.
Browse records and graphs
All data lets you search knowledge, tasks, documents, meetings, conversation history, people, reminders, and imported Trello cards. Click a record to inspect it. Choose Analytics for task activity, completion status, and collection counts.
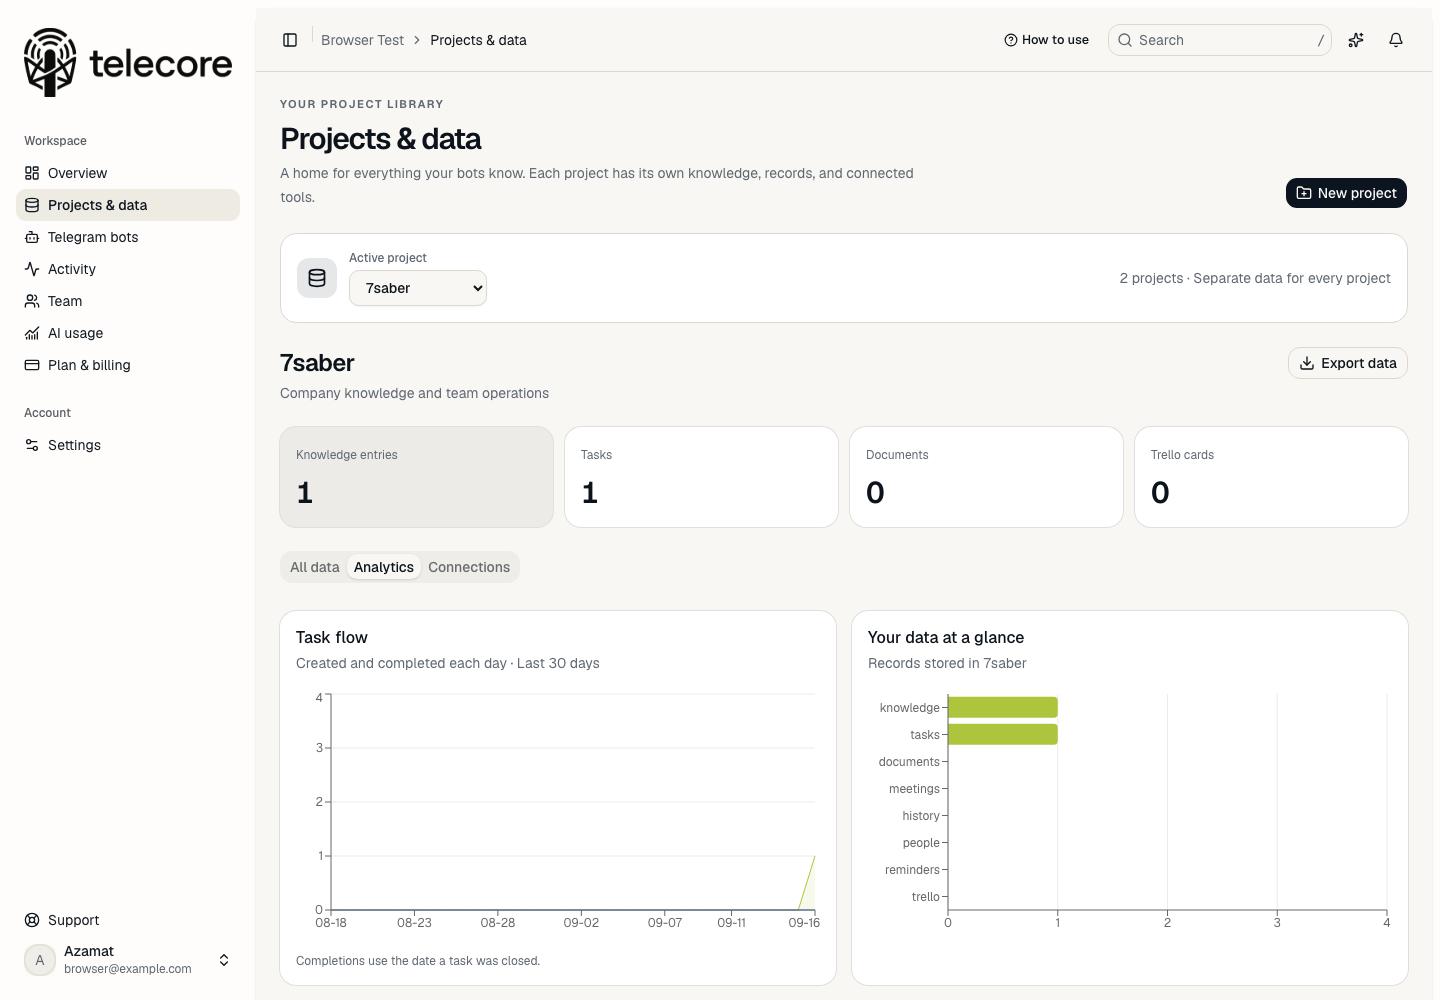
Use Export data to download the selected project’s records as JSON. Connection credentials are excluded.
Bring a board into your project
- Open Trello’s app admin, create or select your Power-Up, then open Trello Auth → Generate a new API Key. Copy the key.
- Request a read token by replacing
YOUR_API_KEYin the address below. Open the completed address in your browser, approve access, and copy the returned token. This example expires in 30 days.
https://trello.com/1/authorize?expiration=30days&scope=read&response_type=token&key=YOUR_API_KEY- In Telecore, choose Projects & data → your project → Connections → Connect Trello.
- Paste the API key, API token, and Board URL or ID. Click Connect & sync.
- Open All data → Trello to inspect imported cards. Click Sync now after changes in Trello. Replace the token when it expires.
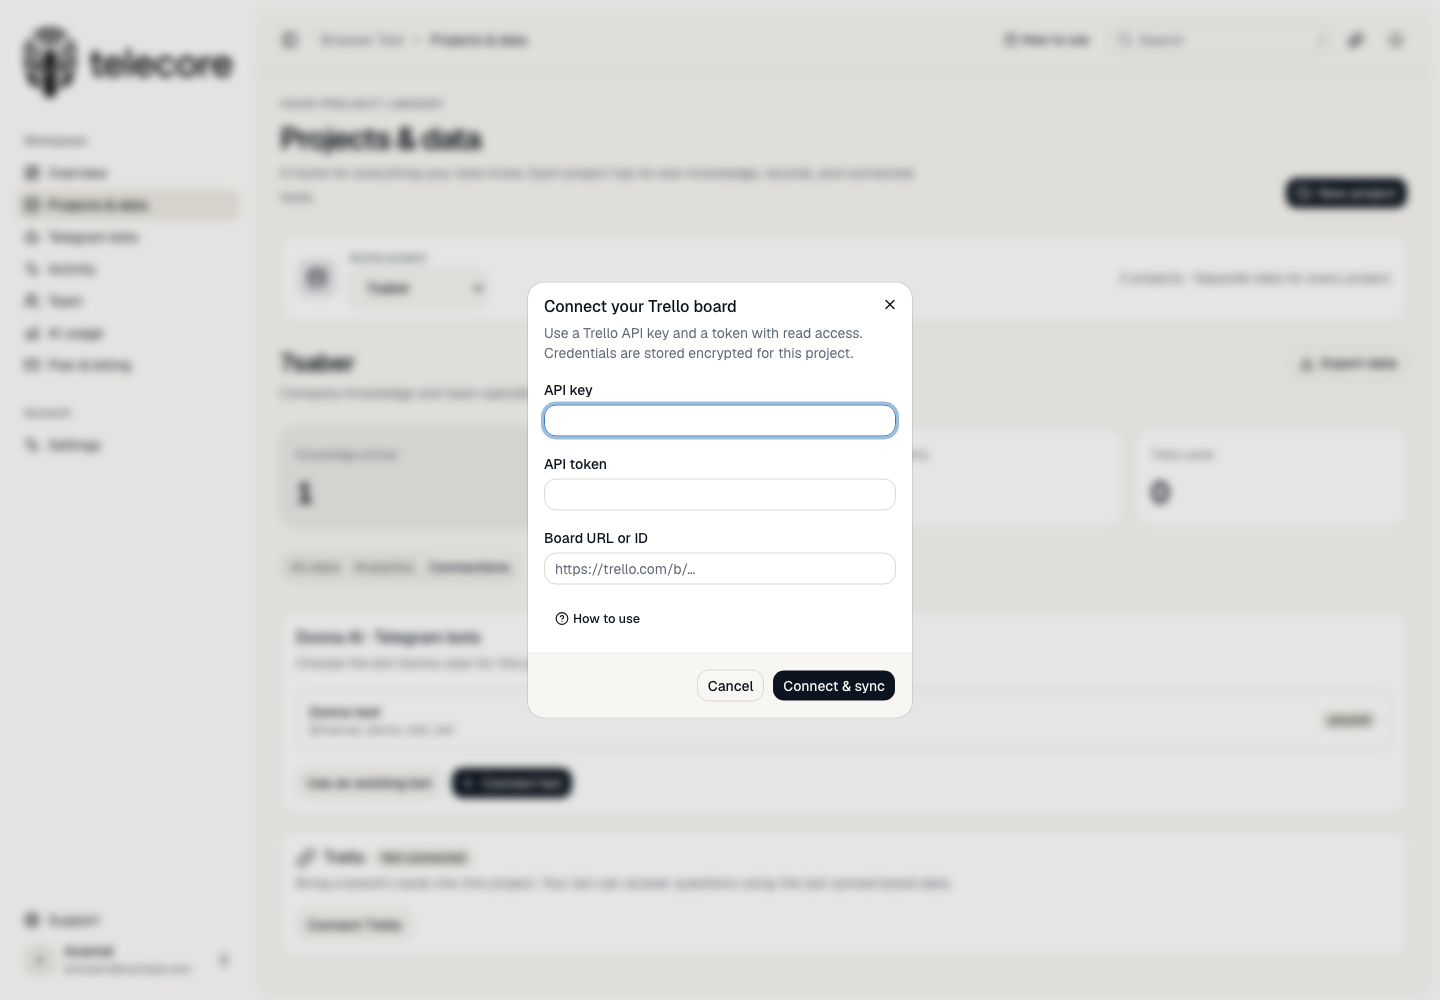
Each connection belongs to one project. Sync reads your board; it does not edit cards in Trello. Donna can use the imported snapshot when answering in that project.
Credential and token steps: Trello’s authorization guide.
Which key goes where?
| Key | Get it from | Paste it into |
|---|---|---|
| Telegram bot token | @BotFather → /newbot or /mybots | Your project → Connections → Connect bot |
| Trello API key + token | Trello Auth and authorization | Your project → Connections → Connect Trello |
| OpenRouter API key | OpenRouter → Keys → Create key | Platform admin → Settings → Providers → OpenRouter credentials |
| Railway token (optional) | Railway token settings | Your deployment tool or CI secret store |
Enable AI responses
The platform administrator creates an OpenRouter key, pastes it into Settings → Providers, and clicks Save OpenRouter key. The provider account needs available credits. Workspace owners can then select the available AI model in their settings.
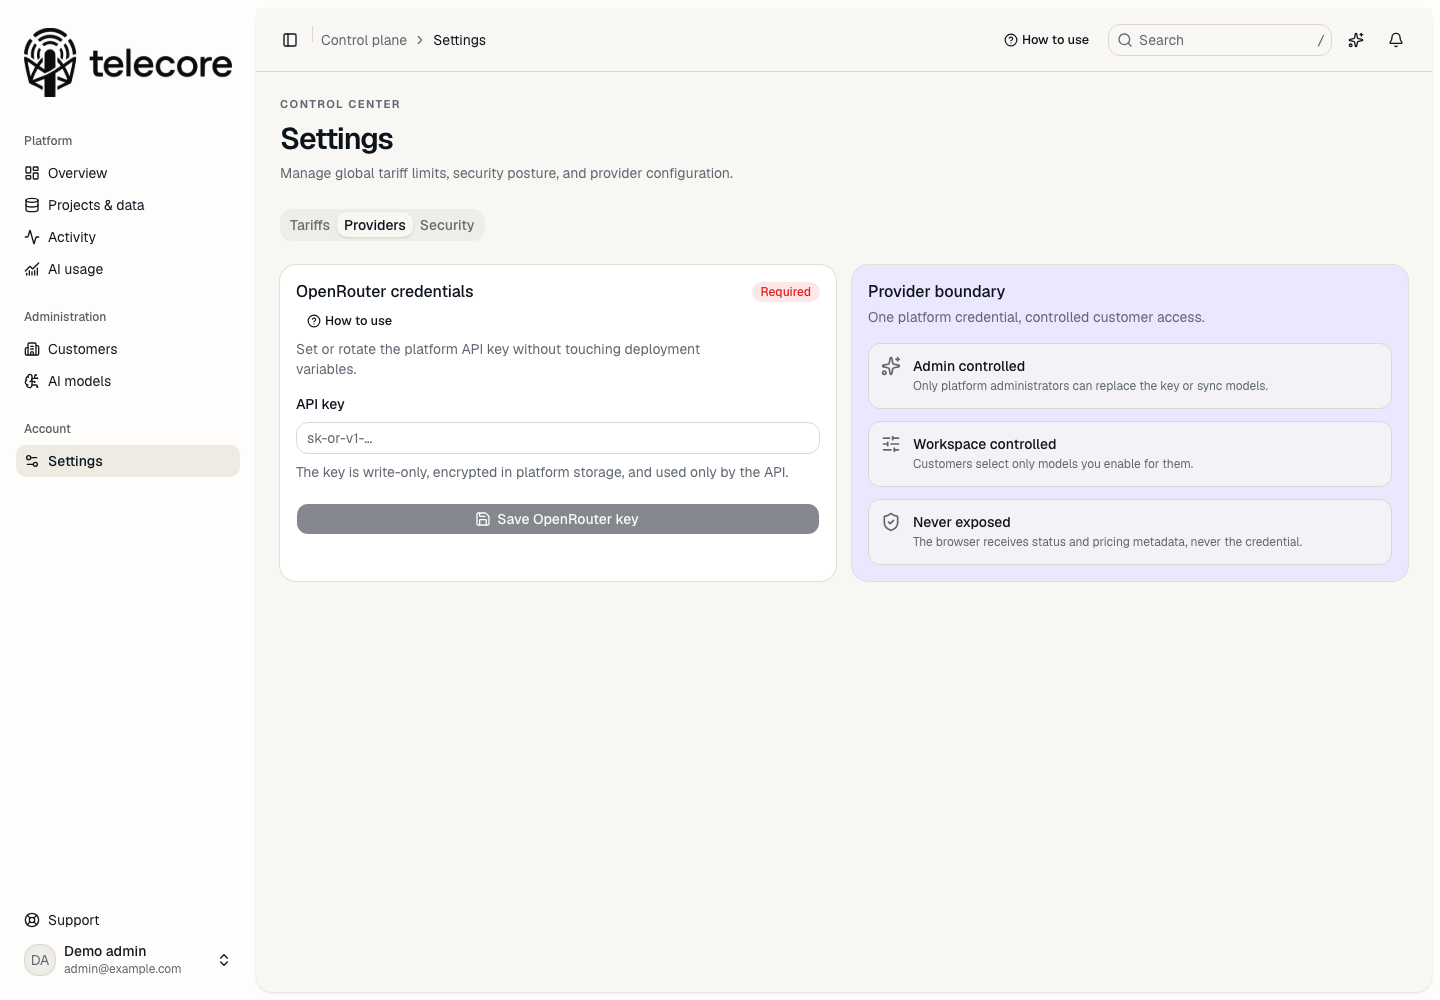
For deployment configuration, the app also supports OPENROUTER_API_KEY in Railway’s service variables. A key saved in Telecore’s provider settings takes precedence.
Provider reference: OpenRouter authentication.
Keep text saved on Railway
Telecore stores project text, accounts, tasks, and connection settings in SQLite. The production database lives at /data/tasks.db on the service’s attached Railway volume. All projects use this durable database with separate project storage and workspace access checks.
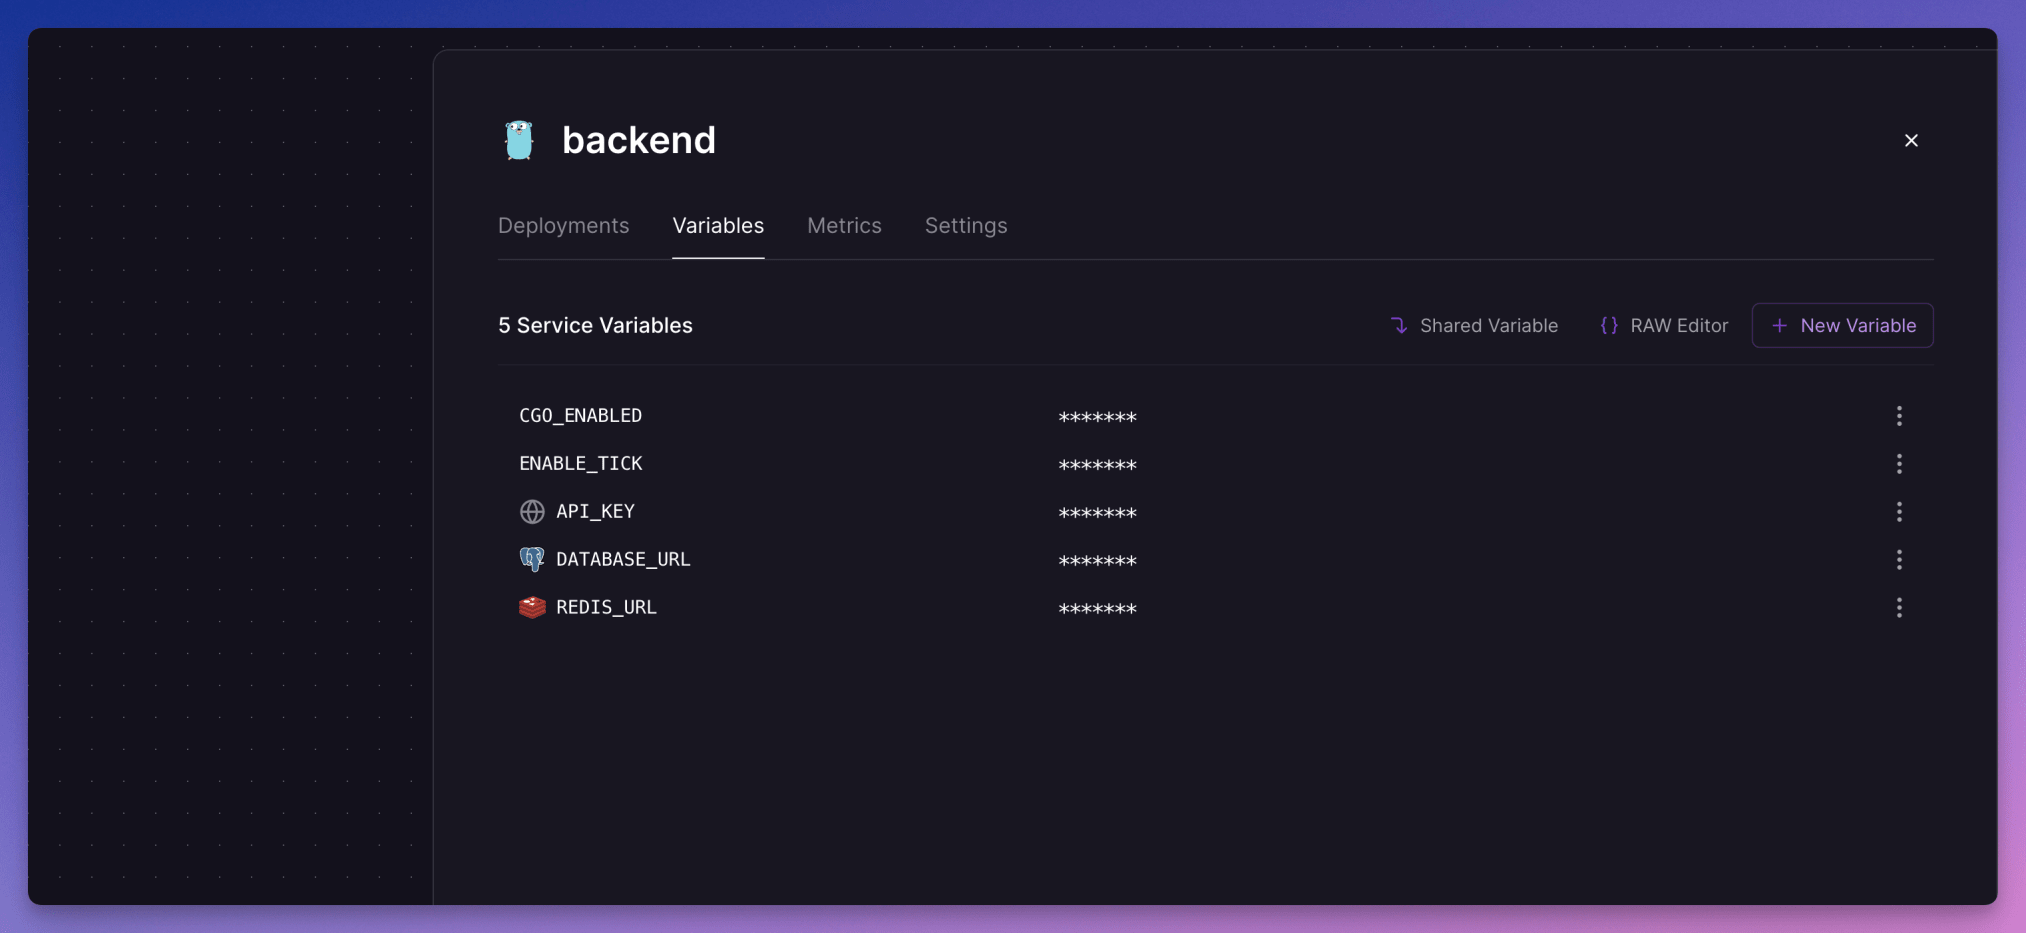
- In Railway, open the existing Telecore project and select the app service.
- Keep its existing volume attached at
/data. For a fresh installation, add a volume to the app service and set this mount path. - Open the service’s Variables tab. Choose New Variable, enter the name and value, and apply the changes with a deployment.
| Variable | Value / purpose |
|---|---|
DB_PATH | /data/tasks.db |
ENVIRONMENT | production |
TELEGRAM_DELIVERY_MODE | polling for this Railway deployment |
DASHBOARD_PUBLIC_URL | Your HTTPS app address |
DASHBOARD_SECRET_KEY | Keep the existing value. It encrypts saved credentials. |
OPENROUTER_API_KEY | AI provider key, if not saved through Telecore settings |
Screenshot: where to enter Railway variables
Screenshot: setting a volume mount path
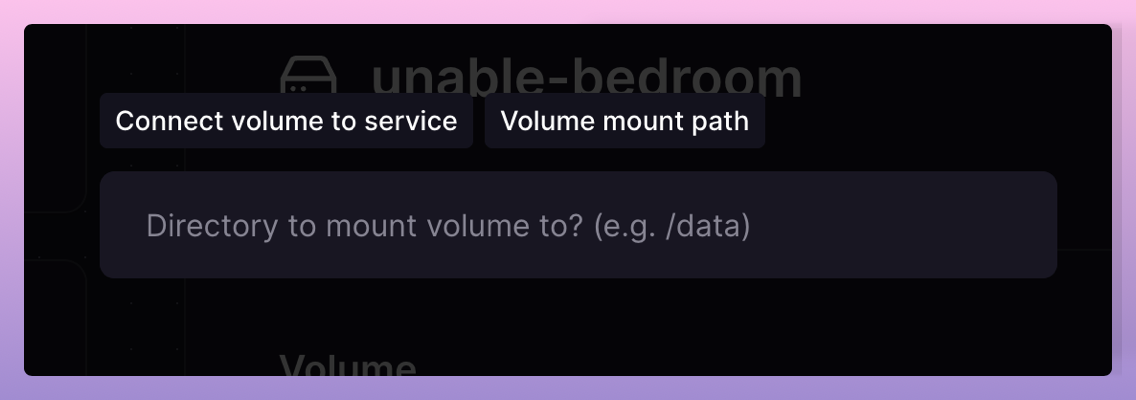
/data for Telecore. Source.Deployment checks
The start command is python start_service.py. It checks the volume path, takes a database backup, runs migrations, and starts the dashboard and Telegram worker. Railway checks /api/health. Run one service replica with this SQLite volume and polling worker.
Startup backups are stored under /data/backups; the five most recent startup backups are retained. They share the volume. Use Railway’s volume backup controls for a separate recovery point. Keep the original volume attached when redeploying.
Hosting reference: Railway volumes · Railway variables.
Get a Railway API token
A Railway token lets deployment tools manage Railway. You do not need one to add knowledge or connect bots in Telecore.
- For automation limited to this project, open Railway → Project settings → Tokens. Create a token for the production environment.
- Copy it into your CI or deployment tool’s secret store as
RAILWAY_TOKEN. The Railway CLI reads that variable. - For account or workspace access, open Railway account tokens, create a token with the appropriate workspace scope, and use
RAILWAY_API_TOKENfor CLI automation.
Screenshot: Railway’s account/workspace token form
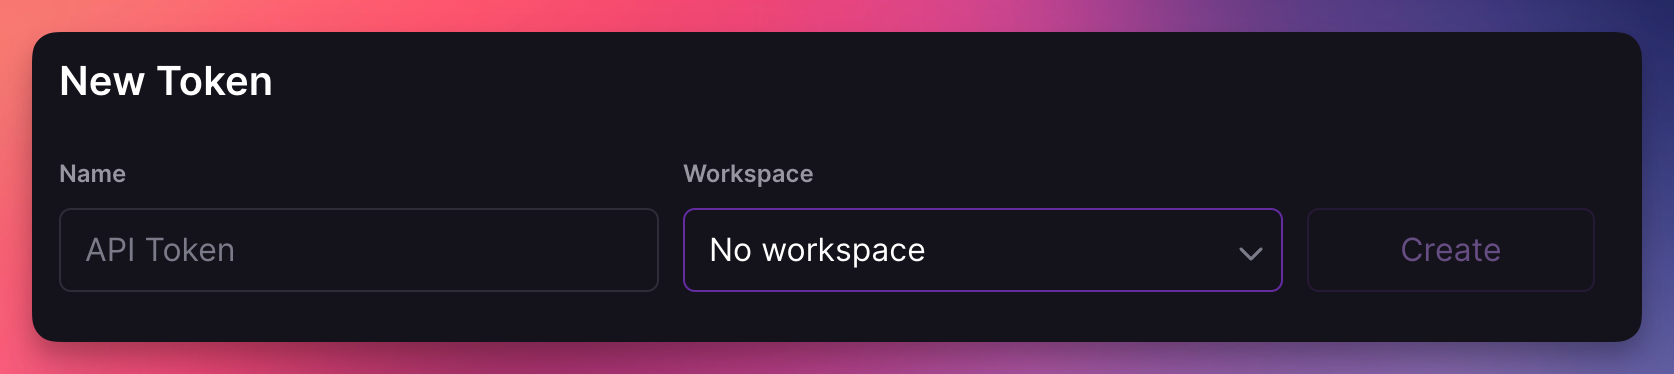
The running Telecore app needs its database and provider credentials. It has no Railway token field because deployment access belongs in your deployment tools.
If something is missing
Donna doesn’t know the text I saved
Check the selected project, confirm the knowledge entry appears after refreshing, then open Connections and confirm your bot is assigned to that project. For Trello information, click Sync now.
A new project has no data or graphs
New projects start empty. Add knowledge, connect a bot, and create activity. Use the project selector to return to existing records.
Trello cannot connect
Check that the token is valid, has read access, and belongs to an account that can open the board. Use the board’s normal trello.com/b/… address. Replace an expired token using Change connection.
The app fails to start after a Railway change
Check deployment logs. Confirm the volume is attached at /data, DB_PATH is /data/tasks.db, and DASHBOARD_SECRET_KEY has not changed. Keep your existing volume and database while correcting the variables.
Data disappears after a deployment
Check that you are signed into the same workspace and selected the same project. An app owner can verify the attached volume and DB_PATH in Railway. This version refuses to start with a Railway SQLite database outside the mounted volume.